

How To Install A Pu Scope On A Mosin Nagant
Recently I received a telephone call from a customer asking if I could mount a scope to a Mosin Nagant. He said he had the scope, the mount, drill bits, everything. He's bought a nice fiddling kit off of Amazon that had everything you needed. He simply needed it mounted. It was to be a Christmas present for his son and he'd watched a YouTube video of how to do information technology just felt information technology would be improve to have a gunsmith do it.
Having gone back and watched the YouTube video he referenced, I sure am glad he brought this thing to me rather than attempting information technology himself. Some of the fundamental parts that make the thing work properly aren't installed by anyone I can notice showing their methods on the interweb. Reading through the reviews on some of these things, the expected poor results are all over the cyberspace since people aren't installing them correctly.
At that place are three main parts to installing this kit. The commodities, the mount itself, and modifying the stock to accept the new mount.
The bolt
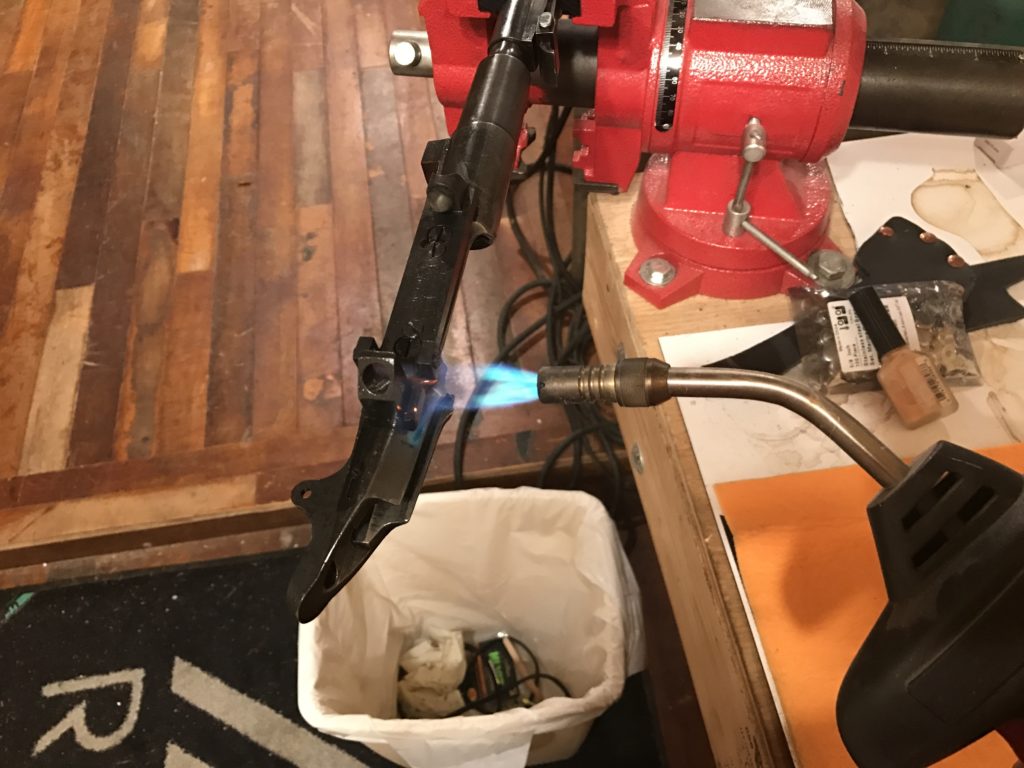
Step ane was to change the commodities.
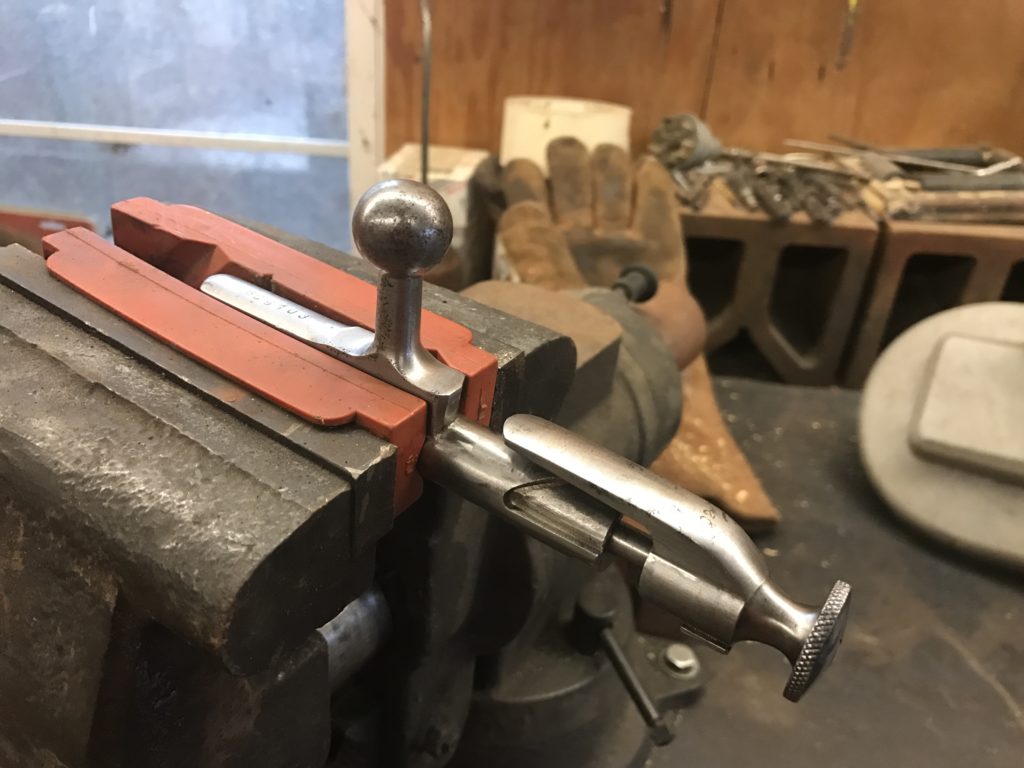
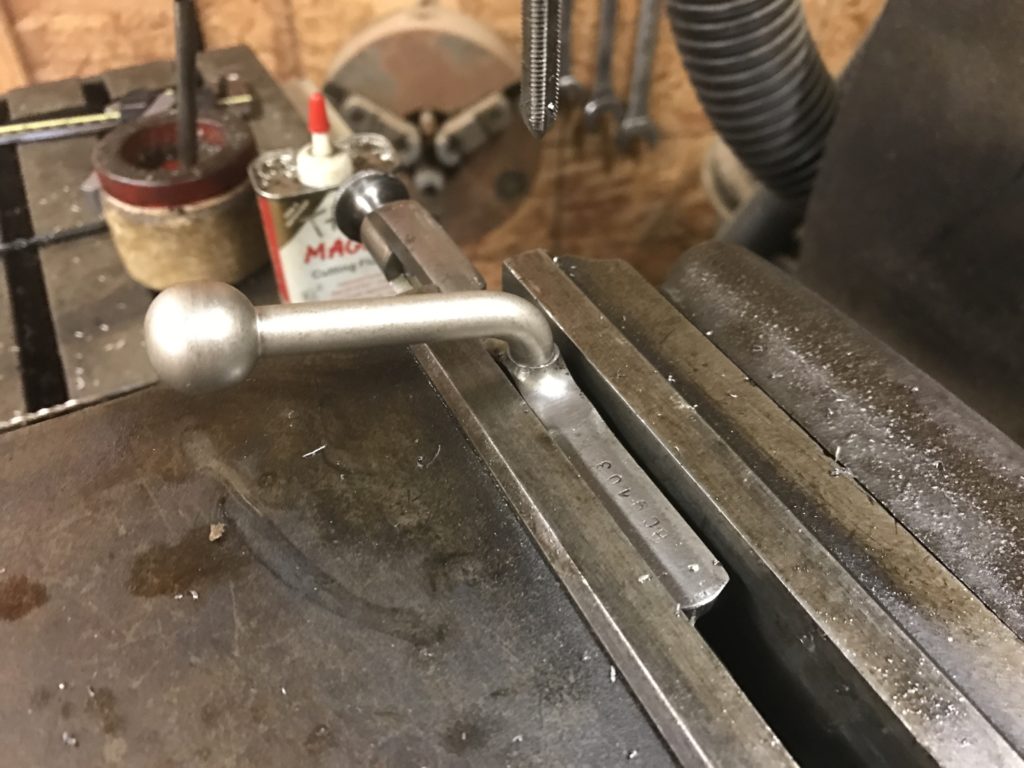
On some rifles you rut and bend the bolt. This gives clearance from the commodities handle to the scope. It besides makes the bolts more "Americanized" and more agreeable to an American shooter. This particular commodities has a short body and the kit came with a new bolt so nosotros just lopped off this old ane with the trust Porta-band.
One time the handle was off, I moved over to the mill where I machined the face perfectly flat. This fabricated for proper mating of the faces and also made it look considerably amend.
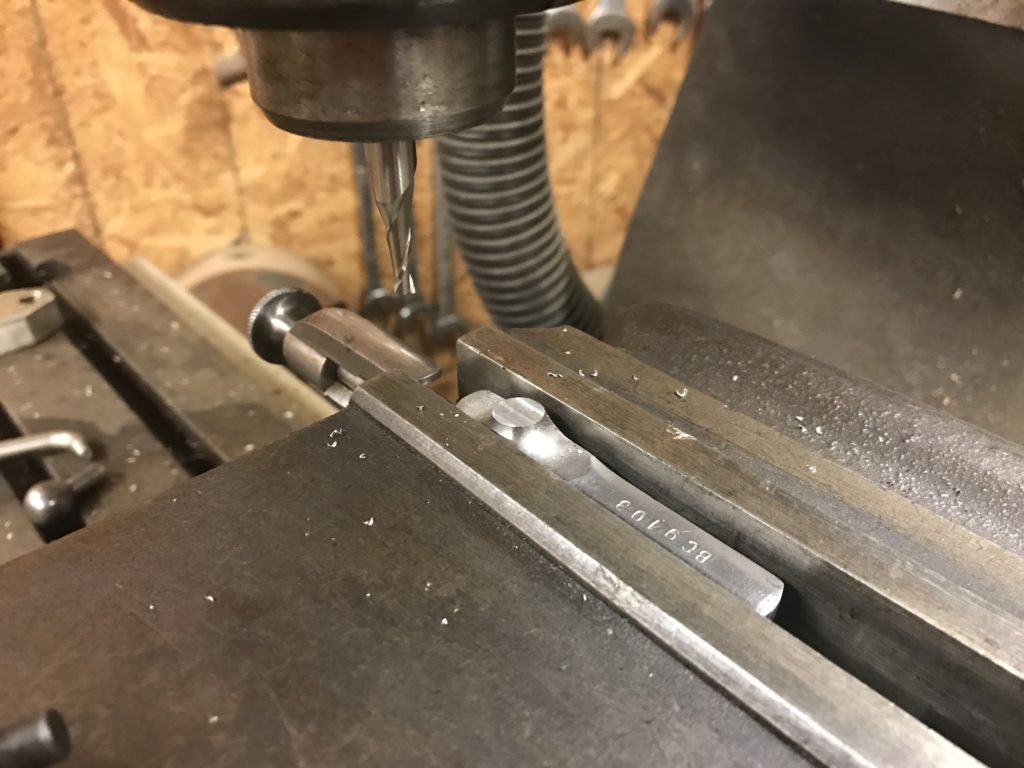
Once it was apartment, I had to locate the center of the circle. This was harder than information technology looked because the metal was not actually round but misshapen somewhat. I got it as close as possible for the condition of the forging. Inside a few thousandths.
Once the heart was located, I locked the mill in place and center drilled the initial hole.

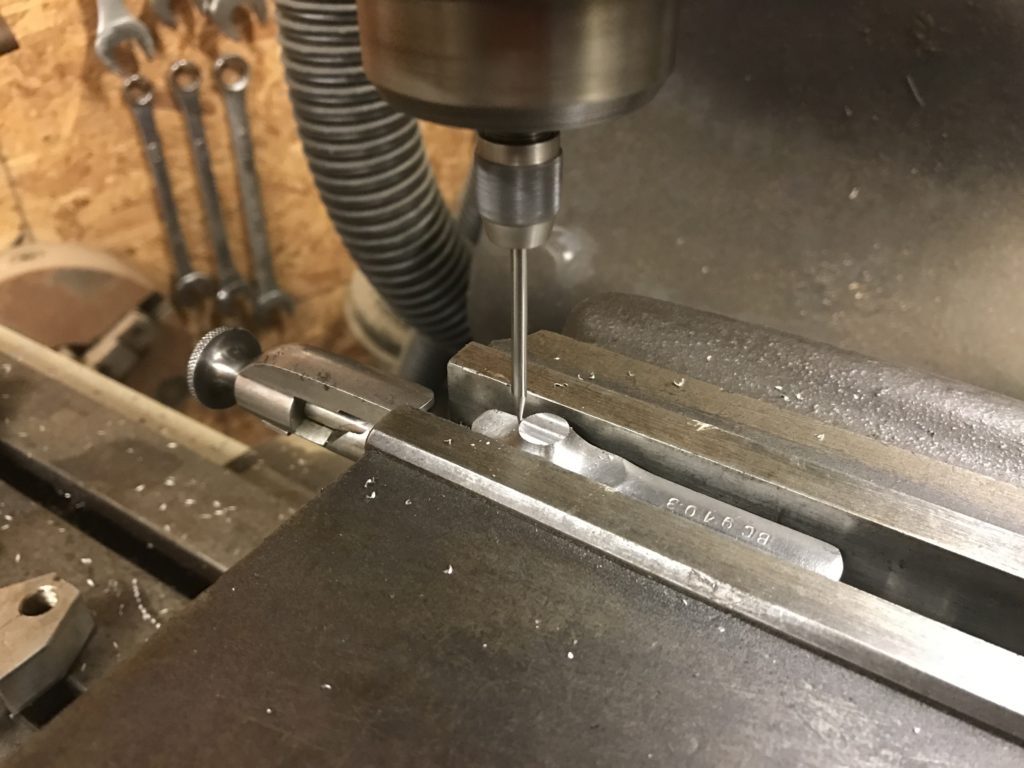
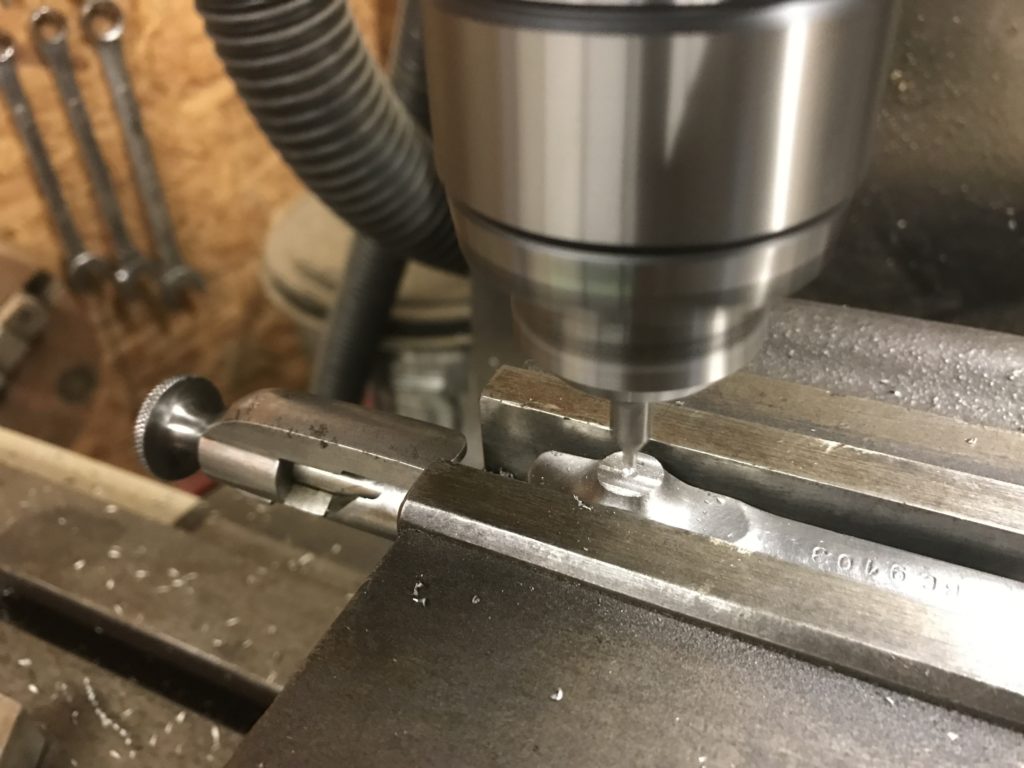
Then I drilled the hole itself. In that location is a supplied drill bit and tap that comes with this kit. The drill flake cutting very poorly and was obviously made of jello or butter or something as ineffective at drilling metal. I had to take information technology to the grinder several times to sharpen it in lodge to get through the few drilling operations of this task. However with sharpening, it did do the job and so it was good enough for this kit. I dubiousness it would take worked for someone trying to do it similar on the YouTube video.
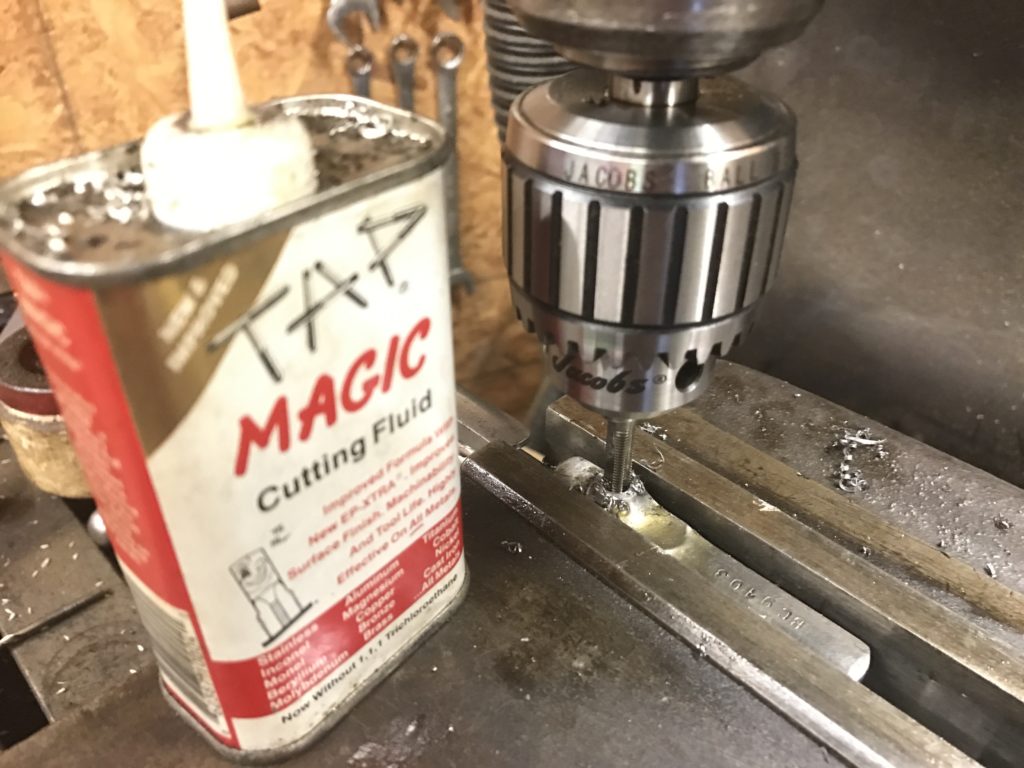
I wasn't brave enough to power tap this hole. I simply rotated the mill past manus and everything tapped just fine.
Timing the handle is an upshot. It needs to be torqued to the correct spec, and line up at the right position at the aforementioned time. I must have been living right this day because it came out perfect on the first try.
I'd given the customer the choice of using Loctite to secure the bolt, or TIG welding it in place. Were it my gun, I'd have welded it only the cost of the actress work was more than he wanted to do. For plinking at the range, a goodly amount of red Loctite will exist fine.
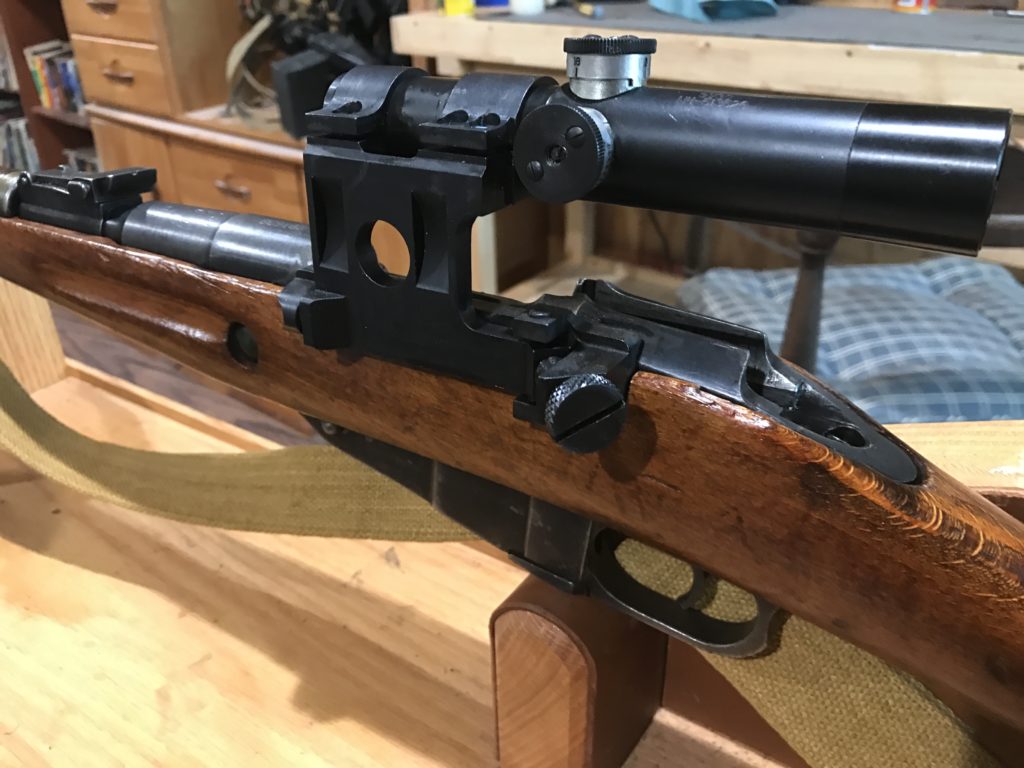
The mount
There was a good scrap of fiddling with the scope mount to get it in the correct position. This scope mount is made for the eye relief of the standard Mosin Nagant stock. All the same my customer had added a butt pad/extender to his gun so the eye relief had changed. That meant I needed to move the telescopic mountain back a bit to endeavour and compensate. Afterward positioning the mount virtually ten times, I finally had it where I wanted it and marked my position. But first, I had to figure out how this mount was made to go on.
The kit comes with two larger screws, two smaller screws, and two basis stainless pins. There were six holes, and six pieces of something that went into the holes. The larger screws concur the mount to the telescopic. The smaller screws are mechanical locking screws that hold the large screws in identify and keep them from backing out. The pins were alphabetize pins that actually hold the mount in place. Easy.
Except the pins didn't fit the holes. There were no instructions with the kit but the kit is sold as having everything you need to install it. I looked on Amazon for any tips from a previous installer. Nothing.
I watched the videos on YouTube. The pins were shown every bit function of the kit but they were never installed by the users. I think the assumption is that the screws hold the mount in identify and the pins? Meh, must be extra.
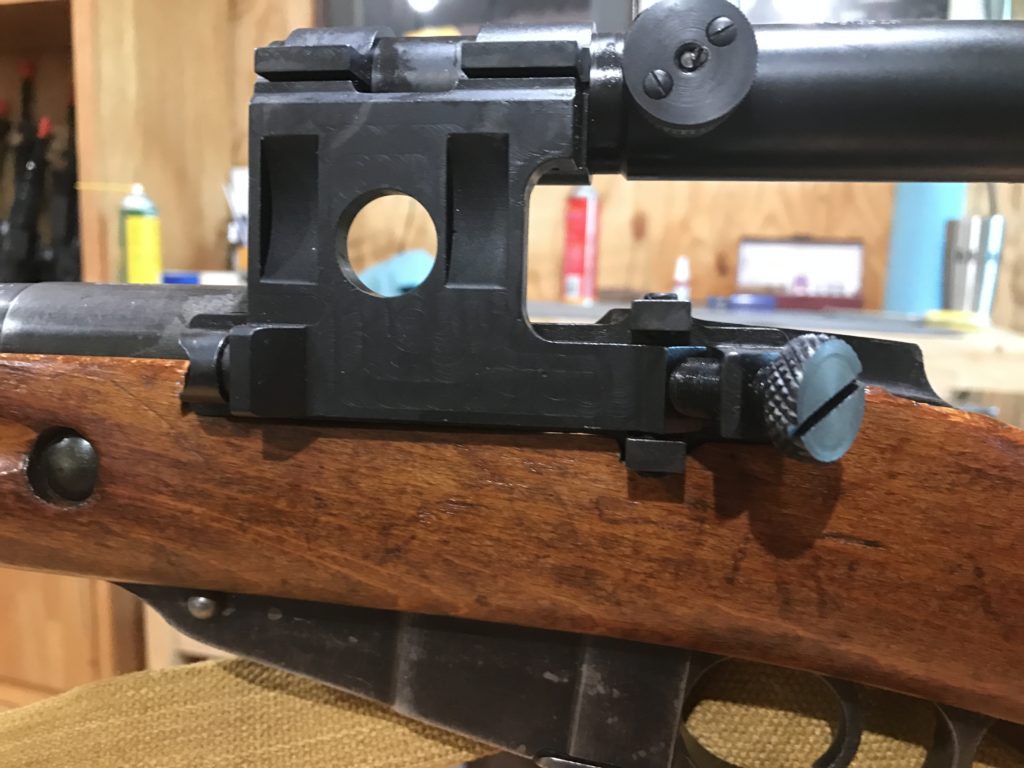
Except that'south incorrect. The pins are what hold the mountain in place. The lock information technology into one position so information technology doesn't move under recoil. The large screws are what keep the mount from backing off of the pins. But they don't hold the mount in a fixed position. If they did, y'all'd never get the screws into the holes. They would exist too tight. In reality, there is slop in the holes for the screws, as there should exist. Without the pins, the mountain would shift effectually under recoil and the gun would never concur a zero. So the terminal fix of minor screws mechanically lock the big screws in place. Kind of a metal version of Loctite. Now that I had a plan, information technology was onto the work.
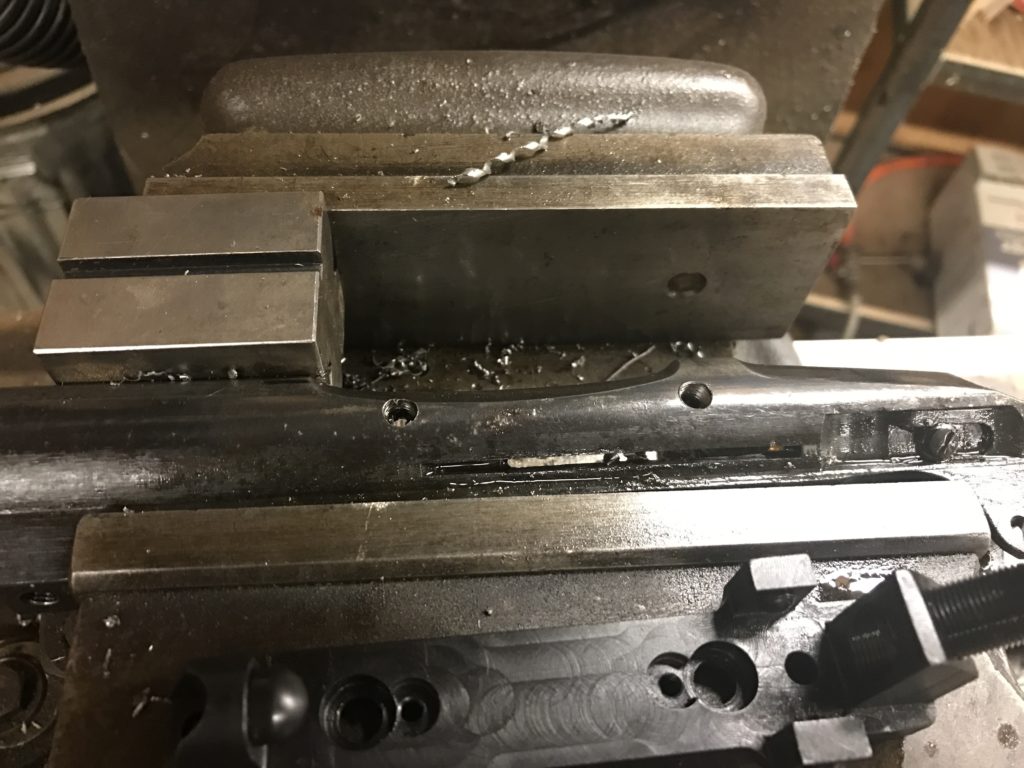
These were located, centre drilled, drilled, and tapped simply similar the commodities hole was previously. Once they were tapped, I could mount the scope base and employ it every bit a guide for the index pins.
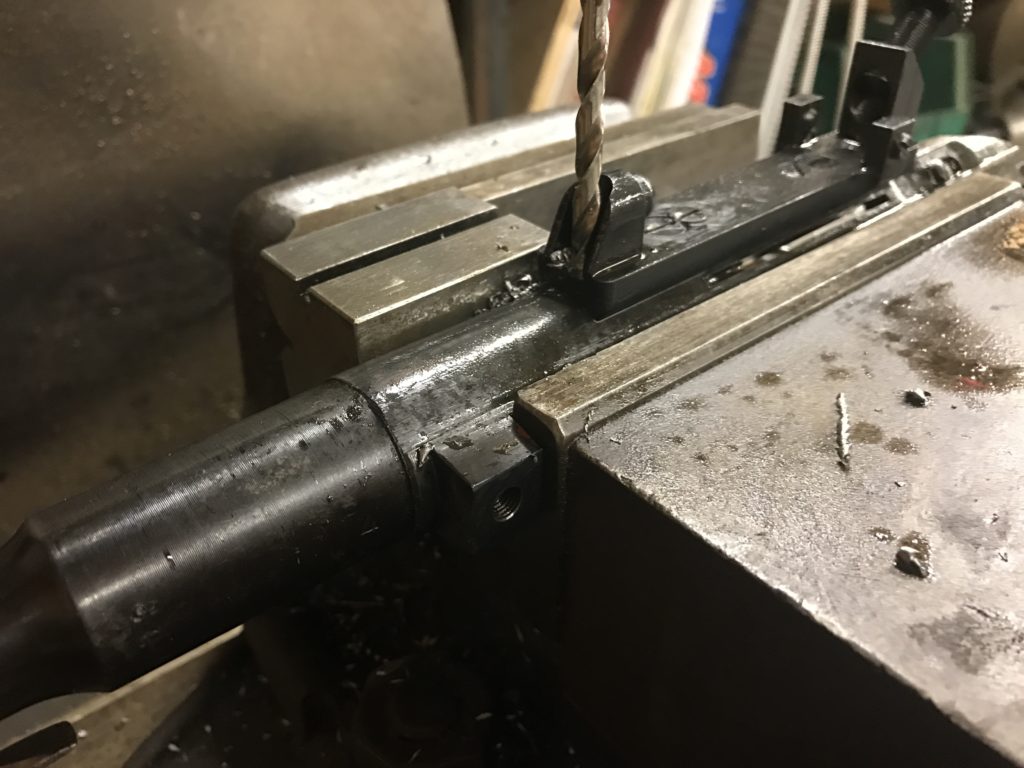
With the mount secured in place by the screws, I drilled through with a #9 drill fleck. This scrap is .001″ smaller than the pins measured. This was on purpose. Nosotros want the pins to be bigger than the hole, only just barely.
With all the machining done, I went dorsum to my gun room to do concluding installation. The index pins went into the freezer and the receiver went into the vice. I cleaned up and did some part piece of work while the pins froze. And then I heated the receiver and the telescopic mount till it was toasty but non glowing red.
With the receiver hot, and therefore bigger, and the pins frozen and therefore smaller, I tapped the pins into place with a small hammer and punch. The just pressed in under force. I and so left everything lonely to return to room temperature. When everything cooled, the extra size on the pins locked the mount to the receiver equally strongly as could be done with this setup. This is the key to this mount. The screws merely keep it from backing off. They don't actually hold it in identify.
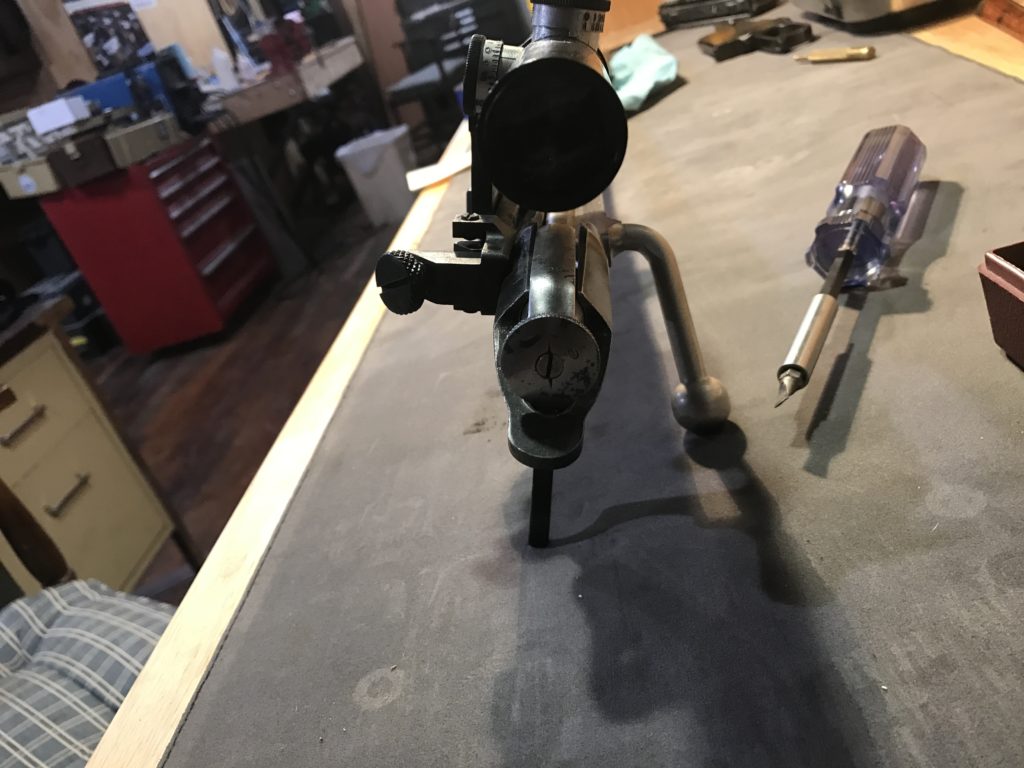
You'll note that this mode of scope sits but to the left of center. That'southward they way these things are designed. I did ask the client if he wanted it fully to the left or rotated some more than towards eye. This was where he wanted information technology.
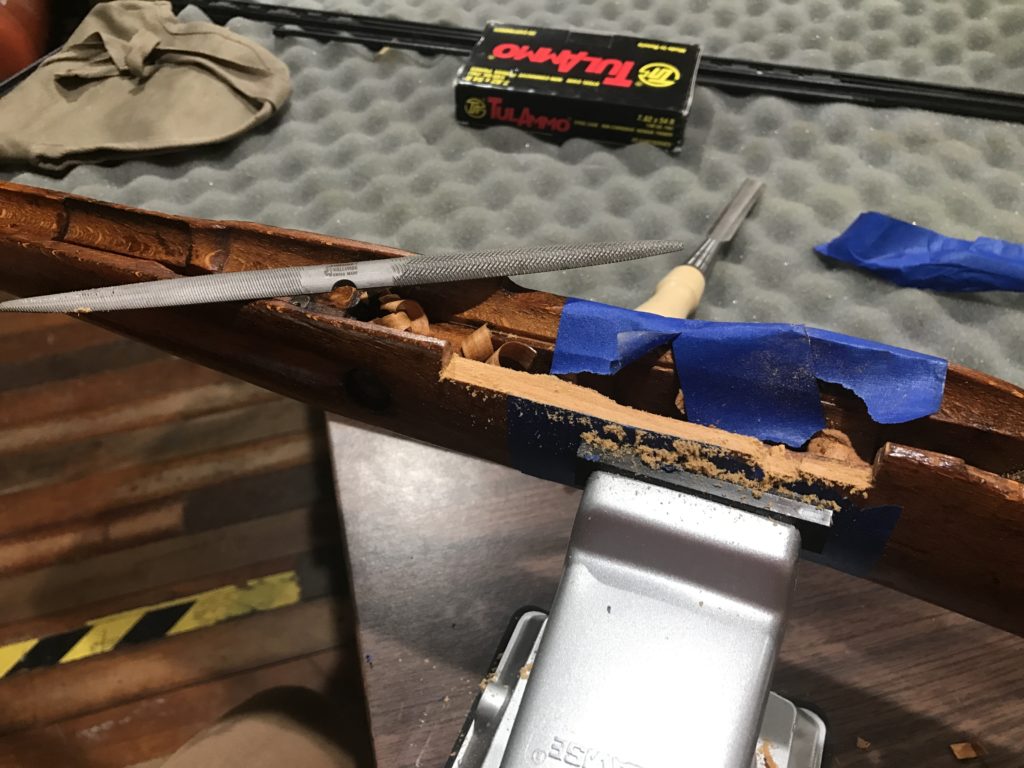
Modifying the stock
Doing the machining work is by and large setup. In one case y'all get everything dialed in and locked in place, information technology goes pretty quickly. Doing the wood work is all hand work and test fitting. It'south enjoyable piece of work because it'due south quiet and meditative but it does take a while.
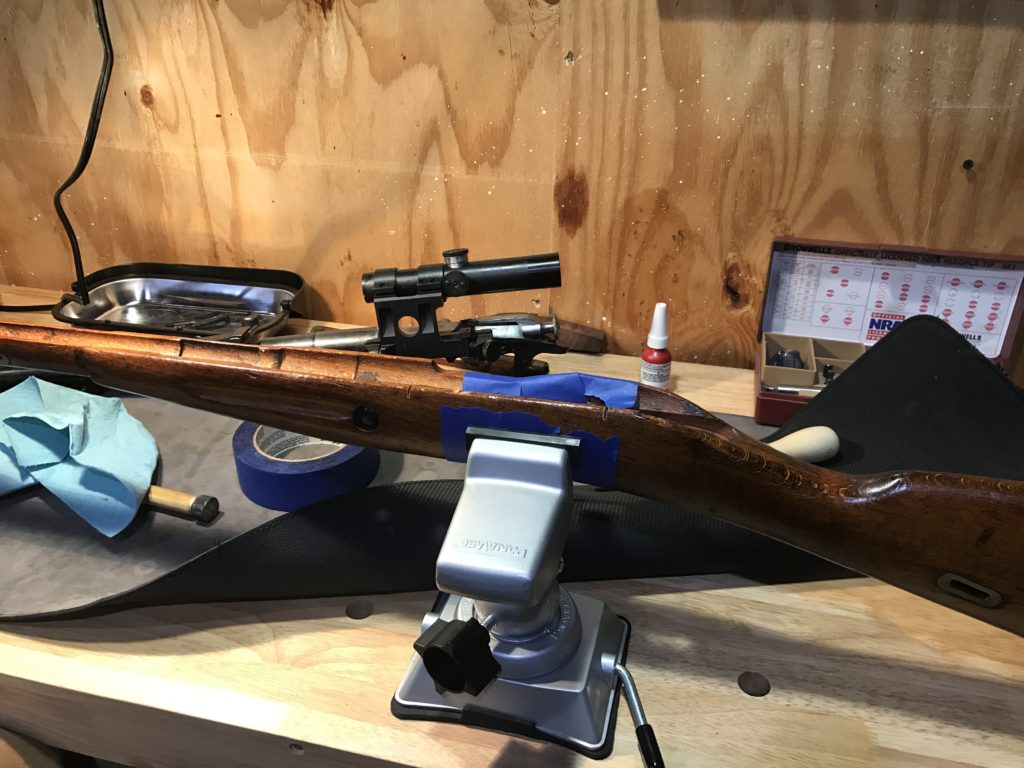
The finished production
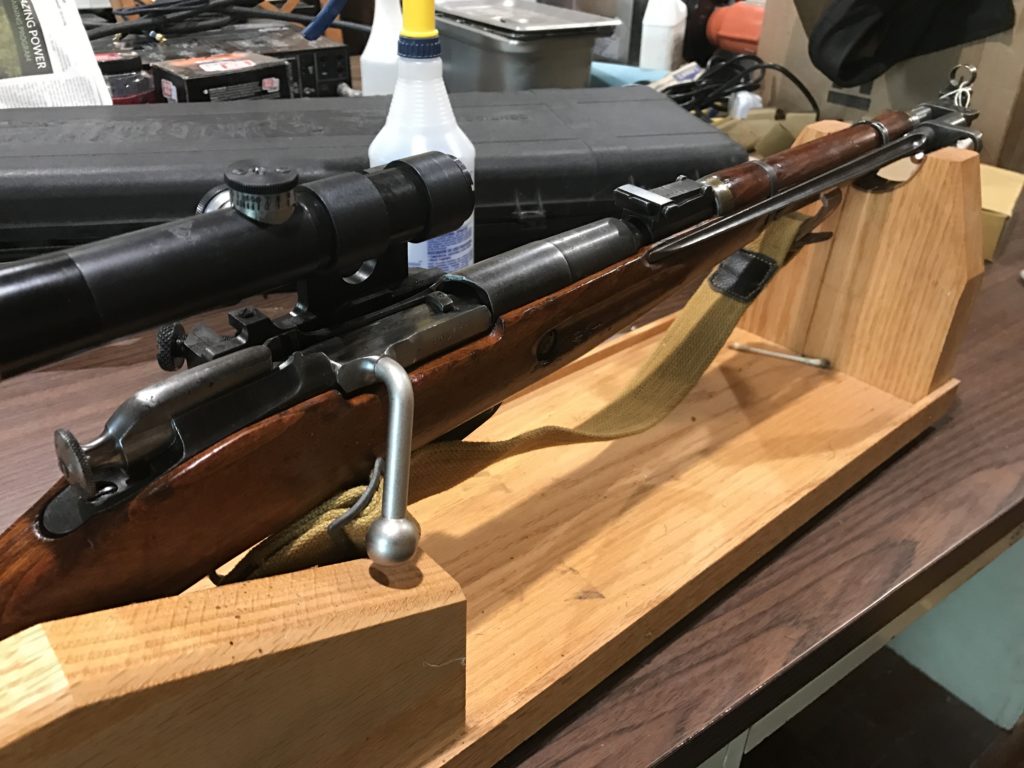
I but bore sighted the scope onto the gun and left the dialing information technology in to the customer.
All in all this was an enjoyable project. For what the client had in the rifle, the kit, and my labor, I'1000 non sure he had his coin'southward worth out of it as a pure shooter just for the cool factor he has a really overnice gun.

Source: https://ninjacowfarm.com/installing-scope-mosin-nagant/
Posted by: rinkphan1991.blogspot.com
0 Response to "How To Install A Pu Scope On A Mosin Nagant"
Post a Comment